Orchids are some of the most stunning and exotic plants that bring elegance and beauty into any home. Known for their intricate blooms, vibrant colors, and long-lasting flowers, orchids have fascinated gardeners for centuries. While many people believe orchids are difficult to grow, the truth is that with the right care, these plants can thrive indoors and reward you with repeated blooms year after year.
In this complete guide, we’ll explore how to plant and grow orchids at home, including choosing the right variety, proper planting techniques, and effective care tips to keep your orchids healthy and flourishing.
Introduction to Orchids
Orchids belong to the family Orchidaceae, one of the largest plant families in the world, with over 25,000 species and more than 100,000 hybrids. They are found on every continent except Antarctica and thrive in diverse climates, from tropical rainforests to semi-arid regions.
The most popular orchids for home growing include:

- Phalaenopsis (Moth Orchid): Easy to grow, with long-lasting blooms.
- Dendrobium: Produces clusters of flowers and adapts well to indoor conditions.
- Cattleya: Known for large, fragrant flowers.
- Oncidium (Dancing Lady): Distinguished by bright, cheerful blooms.
- Vanda: Colorful and often grown in hanging baskets.
Each type has slightly different care requirements, but the basics remain the same.
Step 1: Choosing the Right Orchid for Home Growing

If you’re a beginner, Phalaenopsis orchids are the best choice. They are hardy, forgiving, and bloom for several months at a time. Consider your indoor environment—light availability, humidity, and temperature—before choosing an orchid variety.
- Low to medium light homes: Phalaenopsis and Paphiopedilum orchids.
- Bright, indirect light spaces: Dendrobium, Cattleya, and Oncidium orchids.
- High humidity, warm areas: Vanda orchids.
Step 2: Selecting the Right Pot and Growing Medium
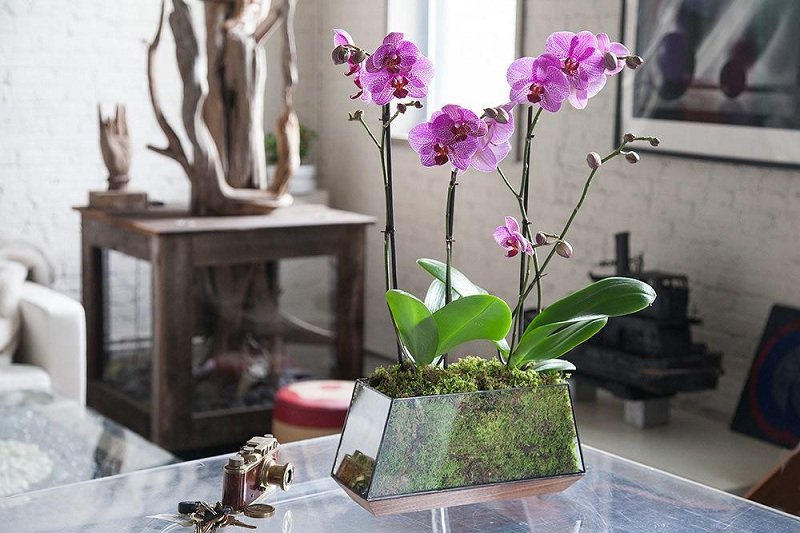
Unlike many plants, orchids do not grow well in regular soil. They are epiphytes in their natural environment, meaning they grow on trees and absorb nutrients from air, rain, and decaying matter.
Pot Choice:

- Use transparent plastic pots with drainage holes—this allows light to reach the roots and helps monitor root health.
- Decorative ceramic or clay pots can also be used but ensure they have proper drainage.
Growing Medium Options:
- Orchid bark mix (fir bark or pine bark) – great drainage.
- Sphagnum moss – retains moisture for orchids needing more humidity.
- Perlite or charcoal – added for aeration.
- A combination of bark, moss, and perlite works best for most orchids.
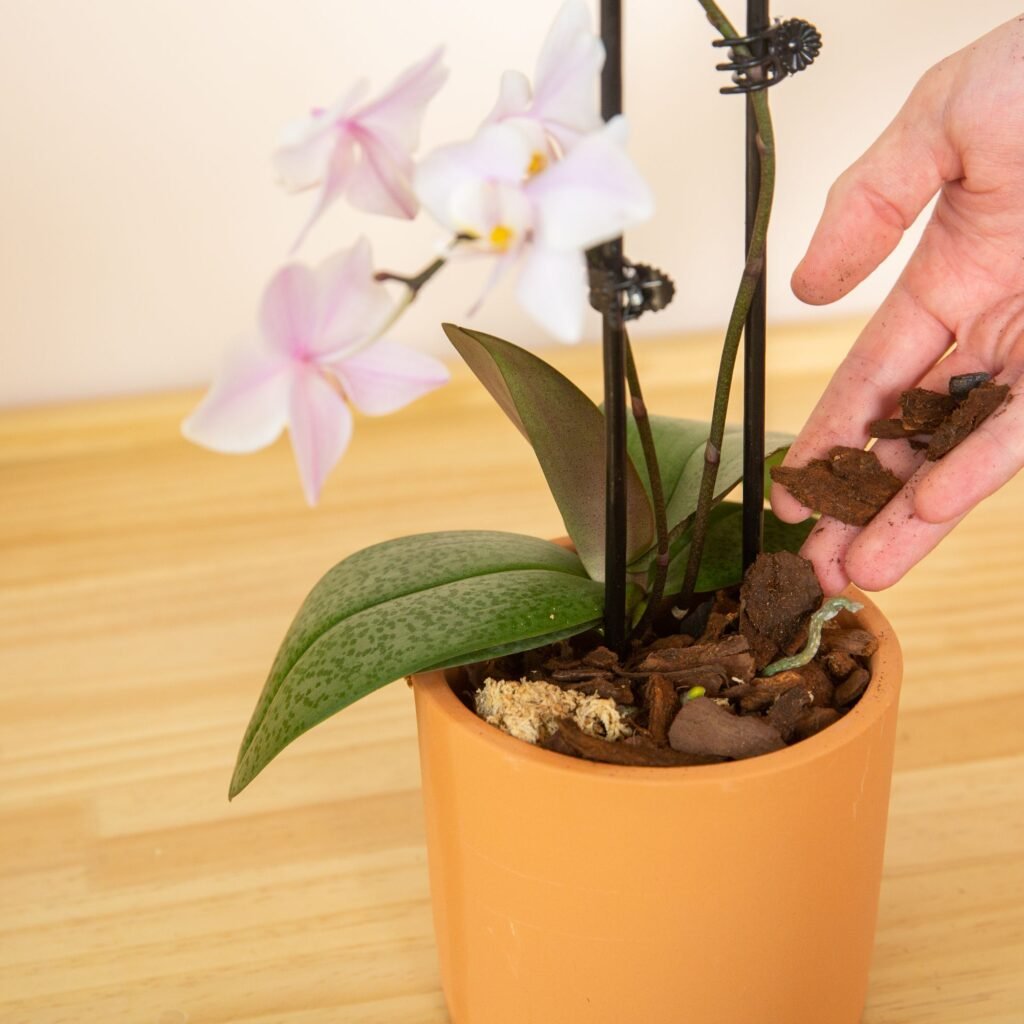
Step 3: Planting Orchids at Home
Here’s a step-by-step guide to planting orchids:
- Prepare the pot – Place a layer of coarse bark or pebbles at the bottom for drainage.
- Position the orchid – Gently place the orchid in the pot, spreading out the roots.
- Add growing medium – Fill the pot with the orchid mix, ensuring the crown (base of leaves) is above the medium.
- Secure the plant – Press the medium gently to stabilize the orchid without compacting it.
- Water lightly – Give a gentle watering after planting, but do not soak.
Step 4: Providing the Right Light Conditions
Light is the most important factor for orchid growth. Too much light burns leaves, while too little prevents blooming.
- Ideal light: Bright, indirect light near east- or south-facing windows.
- Leaf color as an indicator:
- Healthy light – medium green leaves.
- Too much light – yellowish leaves.
- Too little light – dark green leaves with no flowers.
- Use sheer curtains to filter sunlight if necessary.
For homes with limited natural light, LED grow lights are a great solution.

Step 5: Watering Orchids Correctly
Watering orchids can be tricky, as they dislike sitting in water.
- Frequency: Water once a week in summer, once every two weeks in winter.
- Method: Soak the potting medium thoroughly, then allow excess water to drain out.
- Avoid: Letting water sit at the crown, as this causes root rot.
A simple rule is: “When in doubt, wait to water.” Orchids prefer slightly dry roots to overwatering.
Step 6: Humidity and Temperature Needs
Orchids thrive in 40–70% humidity and warm conditions.
- Temperature range:
- Day: 70–85°F (21–29°C)
- Night: 60–70°F (16–21°C)
- Humidity tips:
- Place a humidity tray (a shallow tray filled with pebbles and water) under the pot.
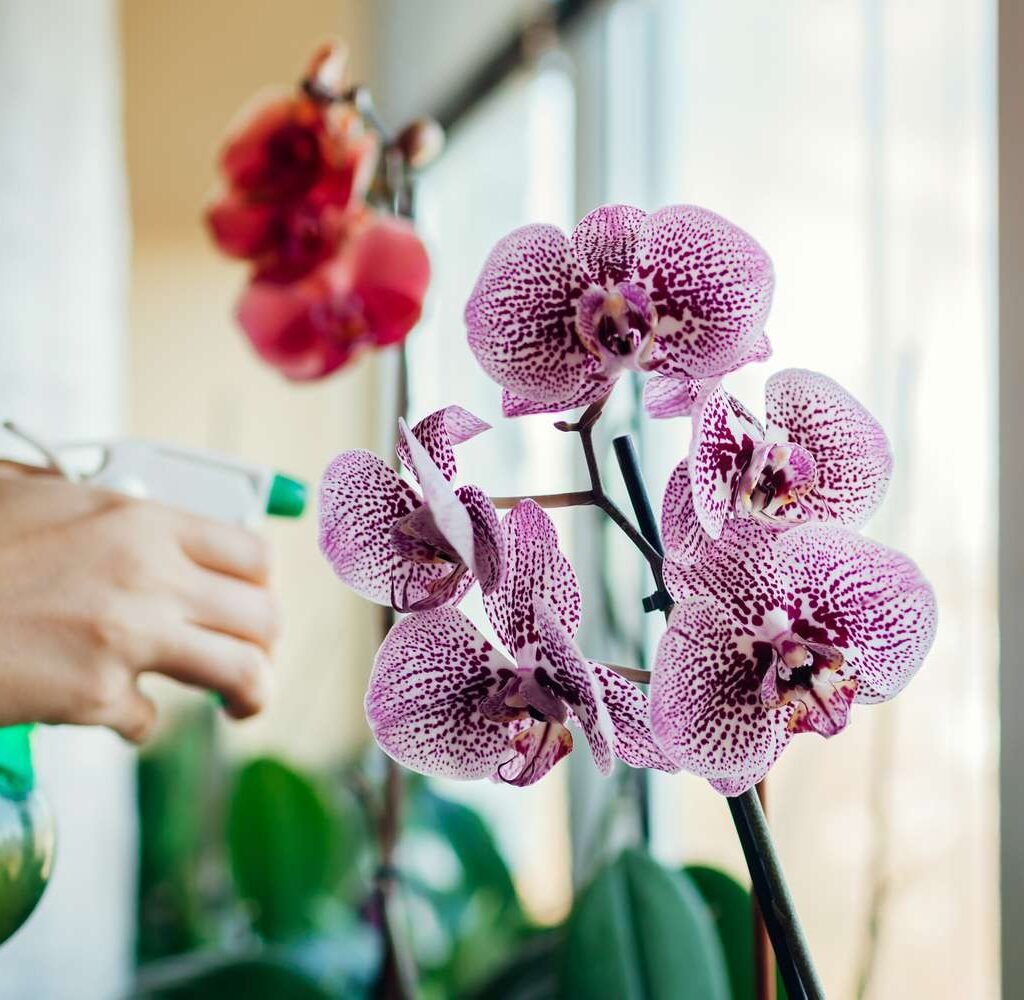
- Mist the plant lightly in the morning during dry weather.
- Use a humidifier for consistent levels indoors.
Step 7: Fertilizing Orchids
Orchids are light feeders but need regular nutrition.

- Use a balanced orchid fertilizer (20-20-20) every two weeks during the growing season.
- Dilute fertilizer to half strength to avoid root burn.
- Switch to a bloom-boosting fertilizer high in phosphorus before flowering.
- Reduce feeding during dormancy after blooming.
Step 8: Orchid Blooming and Reblooming
Orchid flowers can last for several weeks to months. After flowering, many people think their orchid has died—but it’s simply resting.
- After blooms fade: Cut the spike above the second node to encourage reblooming.
- Resting phase: Orchids may appear dormant for a few months—continue light watering and feeding.
- Reblooming trigger: A slight drop in nighttime temperatures helps induce blooms.
Step 9: Repotting Orchids
Repot orchids every 1–2 years to refresh the medium and prevent root rot.
- Best time: After flowering, during active growth.
- Signs it’s time to repot:
- Medium has broken down.
- Roots spilling out of the pot.
- Plant looks overcrowded.
Step 10: Common Orchid Problems and Solutions
- Yellow leaves – Overwatering or too much light.
- Wrinkled leaves – Underwatering or root damage.
- No blooms – Insufficient light or nutrients.
- Root rot – Poor drainage; trim damaged roots and repot.
- Pests (mealybugs, aphids, spider mites): Wipe with a damp cloth or use insecticidal soap.
Benefits of Growing Orchids at Home
- Aesthetic appeal: Orchids add elegance and luxury to any room.
- Air purification: Like many houseplants, orchids improve air quality.
- Mood booster: Their long-lasting blooms create a calming and uplifting environment.
- Rewarding hobby: Growing orchids enhances patience and gardening skills.
Final Thoughts
Growing orchids at home may seem intimidating at first, but with proper care, these stunning plants are surprisingly easy to maintain. From choosing the right orchid variety to providing balanced light, humidity, and fertilization, each step ensures your orchids thrive and bloom beautifully.
Whether you’re a beginner or an experienced gardener, orchids can become a centerpiece of your home garden, rewarding you with exotic flowers year after year. Start with a beginner-friendly variety like Phalaenopsis, and soon you’ll be enjoying the elegance and charm of your very own orchid collection.

Leave A Comment