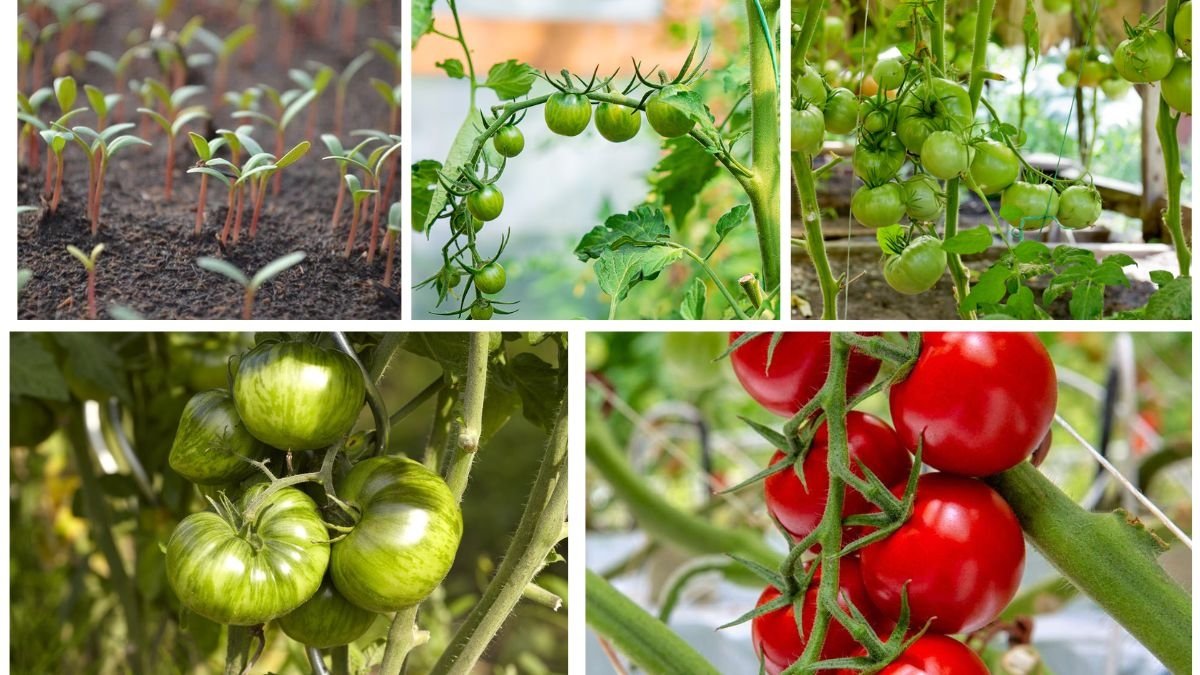
Tomatoes are among the most rewarding crops a home gardener can grow. Their juicy fruits, vibrant colors, and endless culinary uses make them a staple in kitchens worldwide. While many gardeners buy young tomato seedlings from nurseries, starting your tomato plants from fresh seeds is a highly satisfying and cost-effective way to grow them.
By learning how to grow tomato plants from fresh seeds, you not only save money but also gain access to a wider variety of unique heirloom or specialty tomatoes that may not be available in stores. More importantly, the process allows you to deepen your connection with gardening—from seed to harvest.
This comprehensive guide will take you through each step of the journey, from preparing fresh seeds to nurturing healthy plants and enjoying a bountiful tomato harvest.
Why Grow Tomatoes from Fresh Seeds?
Growing tomatoes from fresh seeds offers several benefits:
- Variety Selection: Access to hundreds of heirloom and specialty varieties.
- Cost Efficiency: A single tomato provides dozens of seeds—enough for multiple plants.
- Sustainability: You can save and replant seeds year after year.
- Learning Experience: It’s a hands-on way to understand the plant’s entire life cycle.
Step 1: Extracting Seeds from Fresh Tomatoes
If you want to grow tomatoes from fresh seeds, you’ll first need to prepare them correctly.

How to Extract Seeds:
- Slice a ripe tomato in half.
- Scoop out the seeds and surrounding gel into a bowl.
- Add a little water to the bowl to make stirring easier.
- Stir gently to separate seeds from the pulp.
Fermentation Process:
Tomato seeds are covered in a gel coating that inhibits germination. To remove it:
- Leave the bowl of seeds and pulp uncovered at room temperature for 2–4 days.
- Stir once daily. A layer of mold may form on top—this is normal.
- Once the seeds sink to the bottom, they are ready.
- Rinse thoroughly in a fine sieve and spread on a paper towel or coffee filter to dry for about a week.
Tip: Label the seeds with the tomato variety to avoid confusion later.
Step 2: Preparing for Germination
Once your seeds are clean and dry, it’s time to prepare for planting.
Materials Needed:
- Seed-starting trays or small pots
- Seed-starting mix (light, well-draining, sterile)
- Clear plastic cover or plastic wrap (to retain humidity)
- Spray bottle for watering
Why Seed-Starting Mix?
Regular garden soil is too heavy and may contain pests or fungi. A seed-starting mix is lightweight and sterile, giving seeds the best chance to sprout.
Step 3: Planting the Seeds
Tomatoes need warmth and consistent moisture to germinate.

Steps for Planting:
- Fill trays or pots with moistened seed-starting mix.
- Make shallow holes about 1/4 inch deep.
- Place one to two seeds per hole.
- Cover lightly with soil and gently pat down.
- Mist with water to keep the soil moist.
- Cover trays with plastic to maintain humidity.
Germination Conditions:
- Temperature: 70–80°F (21–27°C)
- Light: Place trays in a bright location or under grow lights.
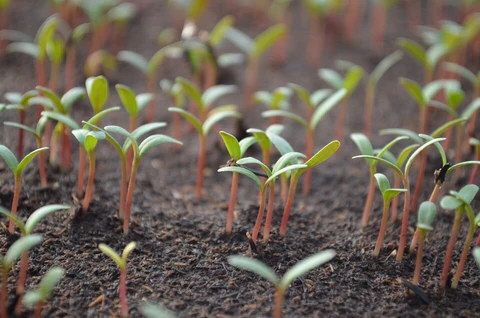
- Time: Seeds typically sprout in 5–10 days.
Tip: Remove the plastic cover once seedlings emerge to prevent mold.
Step 4: Caring for Seedlings

Once seedlings sprout, they need attention to grow strong and healthy.
Light:
Tomato seedlings require 14–16 hours of light daily. Without sufficient light, they will become leggy. Place them near a south-facing window or use fluorescent or LED grow lights.
Watering:
Keep the soil consistently moist but not soggy. Overwatering can lead to root rot. Water gently to avoid washing away seedlings.
Air Circulation:
Good airflow helps prevent fungal diseases like damping-off. Use a small fan on low speed near the seedlings if indoors.

Thinning:
If two seedlings grow in the same spot, thin them to one by snipping the weaker one at soil level.
Step 5: Transplanting Seedlings
When seedlings develop their first set of true leaves, they’re ready for transplanting into larger pots.
Steps:
- Gently lift seedlings from the tray, holding by the leaves (never the stem).
- Replant into pots 3–4 inches wide, burying the stem up to the first leaves to encourage strong root development.
- Keep soil moist and provide plenty of light.
Tip: Tomatoes grow roots along buried stems, so deeper planting means sturdier plants.
Step 6: Hardening Off
Before moving seedlings outdoors, they must acclimate to outside conditions. This process is called hardening off.
How to Harden Off:
- Start 7–10 days before transplanting into the garden.
- Place seedlings outside in partial shade for 1–2 hours the first day.
- Gradually increase exposure to sunlight and wind each day.
- By the end of the week, seedlings should tolerate full sun all day.
Step 7: Transplanting into the Garden
Tomatoes are warm-weather plants, so wait until after the last frost to plant outdoors.

Soil Preparation:
- Choose a sunny spot (6–8 hours of direct sunlight daily).
- Amend soil with compost or well-rotted manure for fertility.
- Ensure soil drains well to prevent waterlogging.
Planting Steps:
- Dig holes 18–24 inches apart in rows spaced 3 feet apart.
- Place seedlings deep into the soil, burying two-thirds of the stem.
- Water thoroughly after planting.
- Mulch around plants to retain moisture and suppress weeds.
Step 8: Caring for Mature Tomato Plants
To ensure heavy harvests, tomato plants need ongoing care.
Watering:
- Water deeply at the base 2–3 times per week.
- Avoid wetting foliage to prevent fungal diseases.
Staking and Support:
- Use cages, stakes, or trellises to support vines and keep fruits off the ground.
Fertilizing:
- Apply a balanced fertilizer every 2–3 weeks.
- Too much nitrogen encourages leafy growth but fewer fruits. Choose a fertilizer high in phosphorus and potassium.
Pruning:
- Remove suckers (small shoots between main stem and branches) to focus energy on fruit production.
- Prune lower leaves to improve airflow and reduce disease risk.
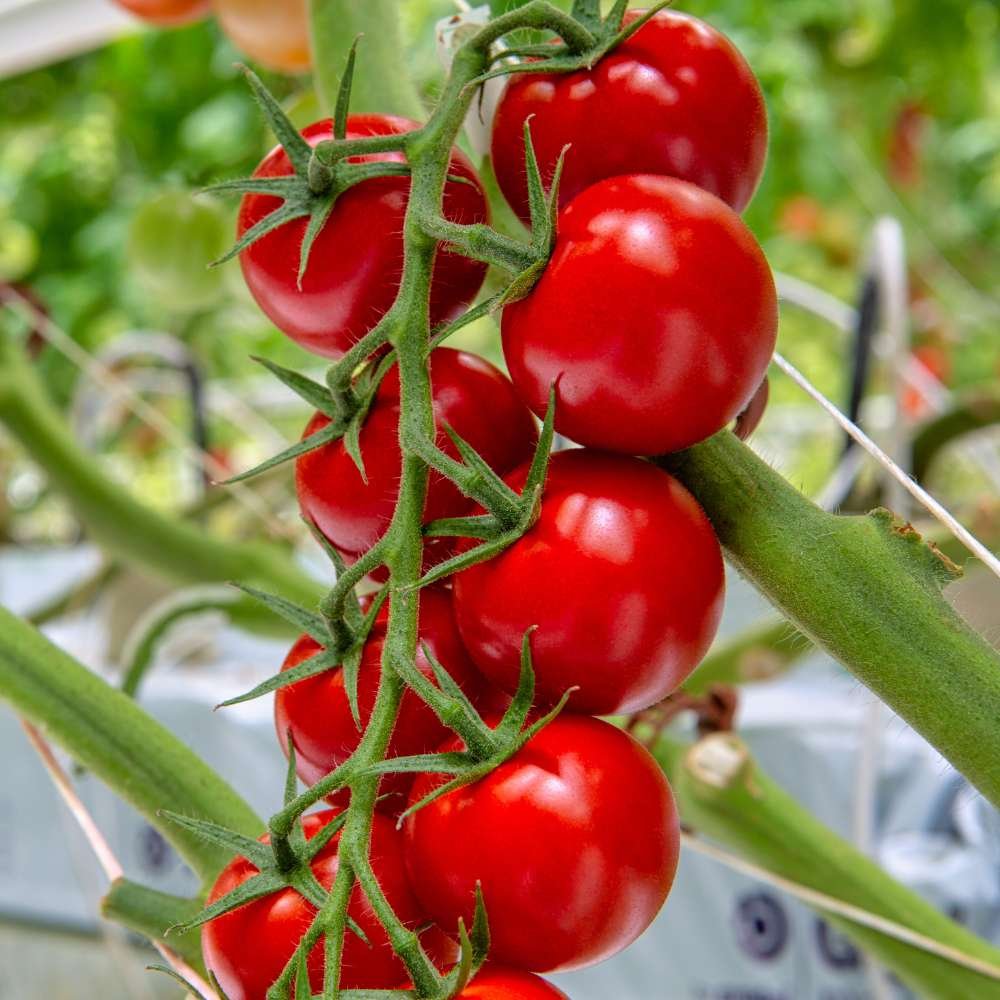
Step 9: Harvesting Tomatoes
Tomatoes are ready for harvest when they reach their mature color—red, yellow, orange, or even purple, depending on the variety.
Harvesting Tips:
- Pick fruits when fully colored and slightly soft to the touch.
- Harvest regularly to encourage more fruit production.
- If frost threatens, pick green tomatoes and ripen indoors in a paper bag.
Common Problems and Solutions
- Yellow Leaves: May indicate overwatering or nutrient deficiency.
- Blossom End Rot: Caused by calcium deficiency and irregular watering. Maintain even soil moisture.
- Pests (aphids, tomato hornworms): Handpick pests or use organic insecticidal soap.
- Fungal Diseases: Improve air circulation, mulch soil, and avoid overhead watering.
Final Thoughts
Growing tomato plants from fresh seeds is a rewarding process that takes you through every stage of the plant’s life cycle—from the moment you scoop seeds from a ripe fruit to harvesting your own homegrown tomatoes.
The keys to success are:
- Proper seed preparation through fermentation and drying.
- Providing warmth, moisture, and light for germination.
- Hardening off before transplanting.
- Consistent care with watering, feeding, pruning, and pest management.
By following these steps, you can transform a single tomato into a thriving garden full of fruitful plants. Not only will you enjoy the satisfaction of growing from seed, but you’ll also savor the unbeatable taste of fresh, homegrown tomatoes straight from your garden.

Leave A Comment